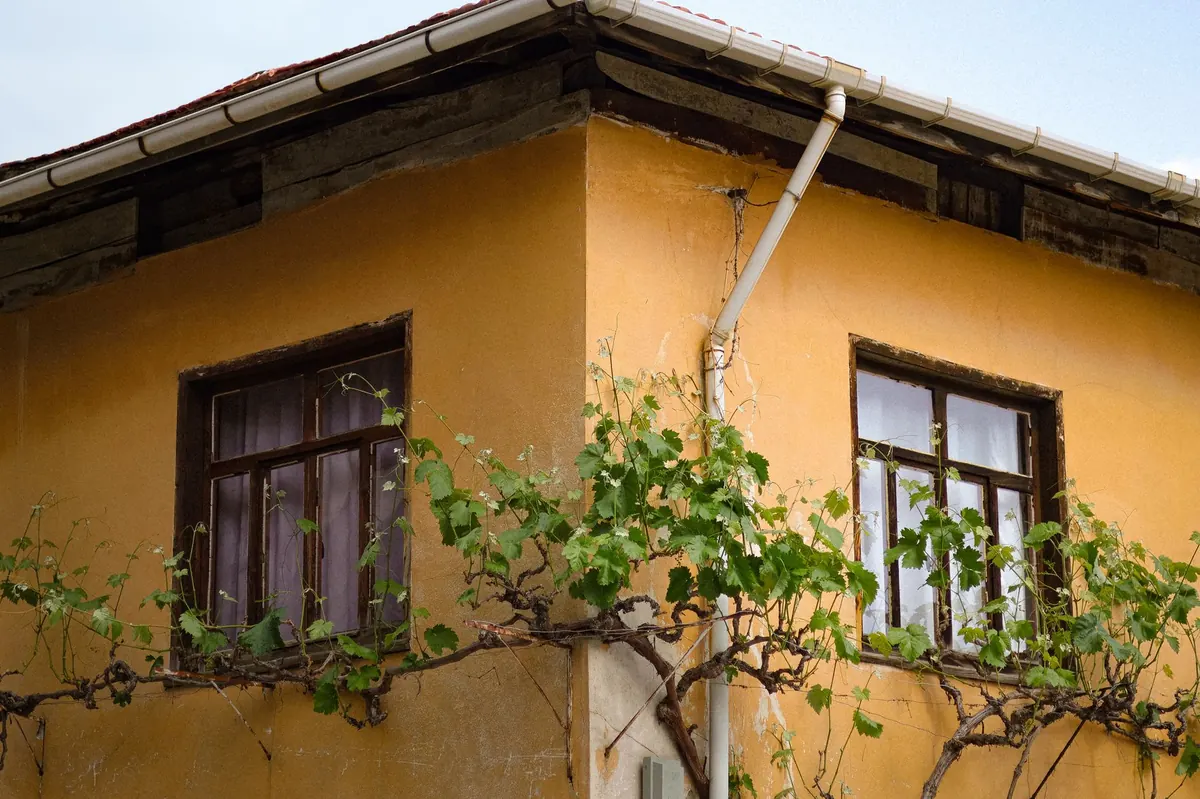
A downpipe has one job: take the water that lands on your roof and put it somewhere harmless. When it does that, nobody notices it. When it doesn't, you get a damp patch on an inside wall, blown render, and a green stripe running down the brickwork. Most of the autumn and winter damp problems we come across on British homes begin with a handful of leaves and a joint that stopped sealing two years ago. Downpipe maintenance is inexpensive, mostly tool-free, and takes an afternoon rather than a weekend.
Stand at the bottom of a downpipe during a heavy shower and watch how much water comes out. A single roof collects thousands of litres over a wet month, and all of it funnels through a pipe barely 68mm wide. If that pipe weeps at a joint, the water does not evaporate politely. It soaks into the masonry behind it.
Brick, render and mortar are all porous. They draw water in and hold onto it, which is why a leaking downpipe often shows up indoors as a tide mark on plaster far from the pipe itself. Water travels sideways and downwards through the wall, through the cavity, into insulation, and eventually through the back of your plasterboard. By the time you notice a stain, the leak has usually been running for weeks.
Start on the ground. You will spot more from a few paces back than you will with your nose against the pipe.
A wet day is the best time to do this, because leaks announce themselves. Save the ladder work for a dry one.
Nine times out of ten, the blockage is not actually in the downpipe. Work through the system in order and you will save yourself a lot of pointless rodding.
Two safety points worth taking seriously. Never overreach from a ladder — move it rather than leaning across, and keep three points of contact. And on older properties the downpipe may feed a combined drain, so what comes back up may not be pleasant. Gloves, eye protection, and a bucket underneath are sensible precautions.
Leaks concentrate at joints, bends and offsets, not in the straight lengths. Before you reach for the sealant, check the alignment: push-fit downpipes should have their sockets pointing downhill, so water runs over the joint rather than sitting in it. A joint that has been knocked out of line will keep leaking no matter how much sealant you apply.
To reseal properly:
If the pipe is cracked, brittle, or has already been patched twice, replace the section. Cutting a new length of downpipe to size with a fine-tooth saw takes minutes and gives you a joint you can trust. Sand the cut edge lightly and check the socket is clean before fitting.
A downpipe that has pulled away from the wall is worse than one that leaks at a joint, because water runs down the gap behind it and straight into the masonry. Tighten or replace loose brackets, and screw into sound masonry rather than the render — if the fixing has been pulled out, drill deeper and use a proper wall plug.
Spacing guidance varies between systems, so check the manufacturer's instructions for your pipe. As a rule, a vertical run needs support at least every 1.5 metres, with extra brackets close to every bend and joint. Check the pipe is upright with a spirit level; a leaning pipe puts constant strain on every joint above it.
At the bottom, make sure the shoe discharges into a gully, soakaway or rainwater butt — not against the wall. If the drain is blocked and water backs up the pipe, it will find the weakest joint and leak there.
Blistering paint, a musty smell behind furniture, white salt deposits on external brickwork, or mould along the skirting all point to water where it should not be. A failing downpipe is a strong candidate, but it is not the only one. Cracked render, failed pointing, a blocked gutter overflowing above a bay window, or a defective flashing around a chimney can all produce the same symptoms.
Fix the obvious downpipe problem first, then give the wall time. A soaked wall can take weeks or months to dry out in cool, damp weather, and painting over it too early traps the moisture in. If the damp persists, spreads, or you are seeing mould indoors, it is worth getting a qualified roofing contractor or surveyor to look. Persistent damp and mould can affect respiratory health, so if anyone in the house has asthma or similar, do not leave it.
Two short sessions a year will keep you ahead of almost every downpipe problem. Do one in late autumn, after the leaves have fallen, and one in spring, before everything starts growing again.
Each visit, spend fifteen minutes clearing the gutter and outlet, checking the joints for staining, and watching water run through the system with a hose. Clear the gully while you are there. It sounds mundane, and it is — which is exactly why it works. Ten minutes in November is a great deal cheaper and drier than replastering a wall in February.
Photo: Sena / Pexels