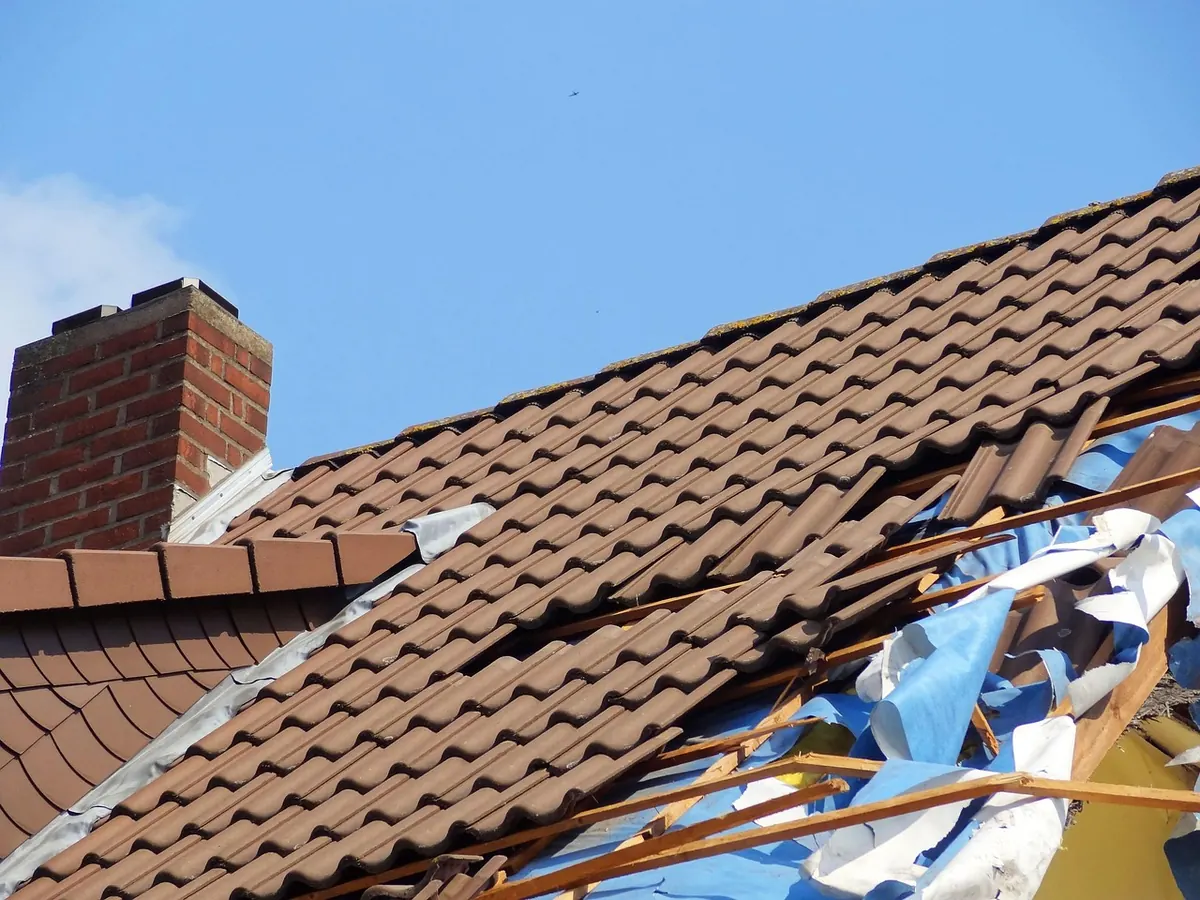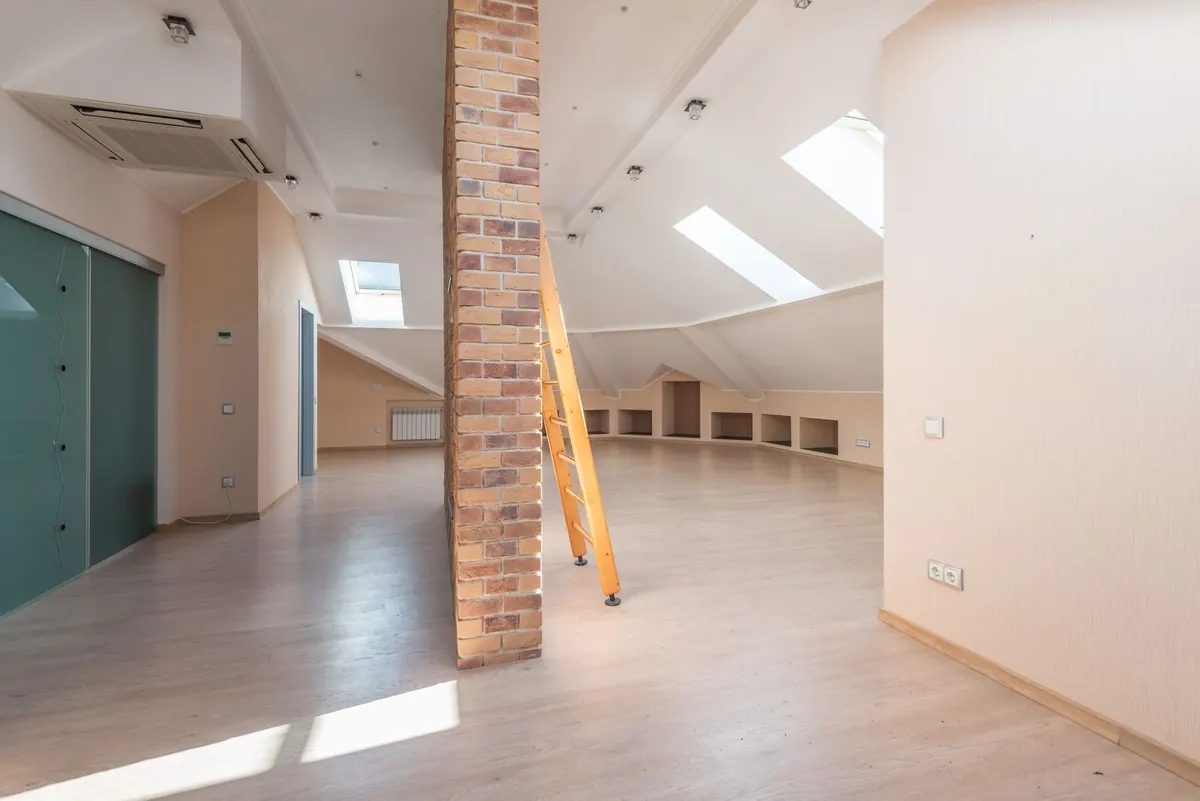
Gable ends are the most overlooked part of most UK roofs. Everyone remembers the ridge, the eaves and the felt; hardly anyone thinks about the triangle of wall at the end of the house until something goes wrong. On plenty of lofts it is the easiest place to add ventilation, and sometimes the only place left. If you have spotted damp patches on roof timbers, a musty smell when you open the loft hatch, or condensation on the underside of the felt, the gable end deserves a closer look.
The gable wall closes the end of a pitched roof. Behind it there is usually a triangular void between the last truss or rafter and the wall lining — a dead corner with no draught and no through-route for air. In winter that pocket sits colder than the rest of the loft, and cold, still air is exactly where condensation shows up first.
A gable vent gives that corner a way out. Because warm, moist air rises, high-level ventilation at the gable is efficient at letting it escape before it settles on cold surfaces. Paired with low-level air coming in at the eaves, it creates the cross-flow a roof space needs.
Moisture is normal in a home. Showers, cooking, drying laundry indoors and simply breathing all add water vapour to the air, and warm air carries more of it than cold air. When that air finds its way into a loft and meets a surface below its dew point — the underside of a roof covering, a sheet of felt, a metal fixing plate — the vapour turns back into water.
Insulation slows heat loss but does not stop moisture moving. It still travels through gaps around pipework, cables, downlights and a poorly fitting loft hatch. Sealing a house more tightly, as most refurbishment work does, reduces unwanted draughts but does not remove the need for the roof to breathe. That is why topping up loft insulation without checking ventilation often makes damp worse rather than better.
Ventilation is not about making a loft cold. It is about stopping warm, moist air from meeting a cold surface in the first place.
Condensation rarely announces itself. It builds quietly over weeks and then shows up in a handful of places:
If damp and mould are affecting living areas rather than the loft alone, treat it as a building problem worth professional attention. Persistent indoor damp can affect health, and a surveyor or damp specialist will find the cause faster than guesswork.
Traditional louvred gable vents are still the simplest answer, and modern plastic or aluminium versions do the same job with better weatherproofing. Fit one high in the gable, with blades angled downwards and an insect mesh behind. Where you can, fit one on each side of the building so air passes through rather than simply rattling around.
On a solid gable, a core-drilled hole lined with a telescopic sleeve and finished with louvred terminals inside and out works well. Keep the sleeve clear of cables, pipework, flues, lintels, damp-proof courses and cavity trays, and position it as high as is practical.
If the wall is listed or awkward to drill, tile vents on the adjacent slope near the ridge can provide the same high-level escape route. Low down the slope, they achieve far less.
These are the main routes in most roofs. Continuous soffit vents, over-fascia vents or roof-slope vents at the eaves bring air in; ridge vents or a dry ridge system let it out. The most common fault found in UK lofts is eaves vents buried under insulation — a fix that costs nothing but an afternoon.
Kitchen and bathroom extract fans should always be ducted to the outside, never into the loft. Where moisture levels are high, a positive input ventilation unit or a system with heat recovery tackles the source rather than the symptom. Ductwork running through a cold loft should be insulated so it does not sweat.
Extensions with vaulted ceilings, room-in-roof conversions and warm flat roofs have no traditional cold loft, so the rules change. In a warm roof the insulation sits above the structure, keeping the timbers on the warm side so condensation is far less likely. In a room-in-roof, the void behind the plasterboard must not become a sealed, cold pocket — it needs either proper insulation or a designed airflow path.
These details are worth discussing with a roofing surveyor or building control before work starts. Cutting a vent in the wrong place on a warm roof can undo the whole assembly.
Photo: Max Vakhtbovych / Pexels